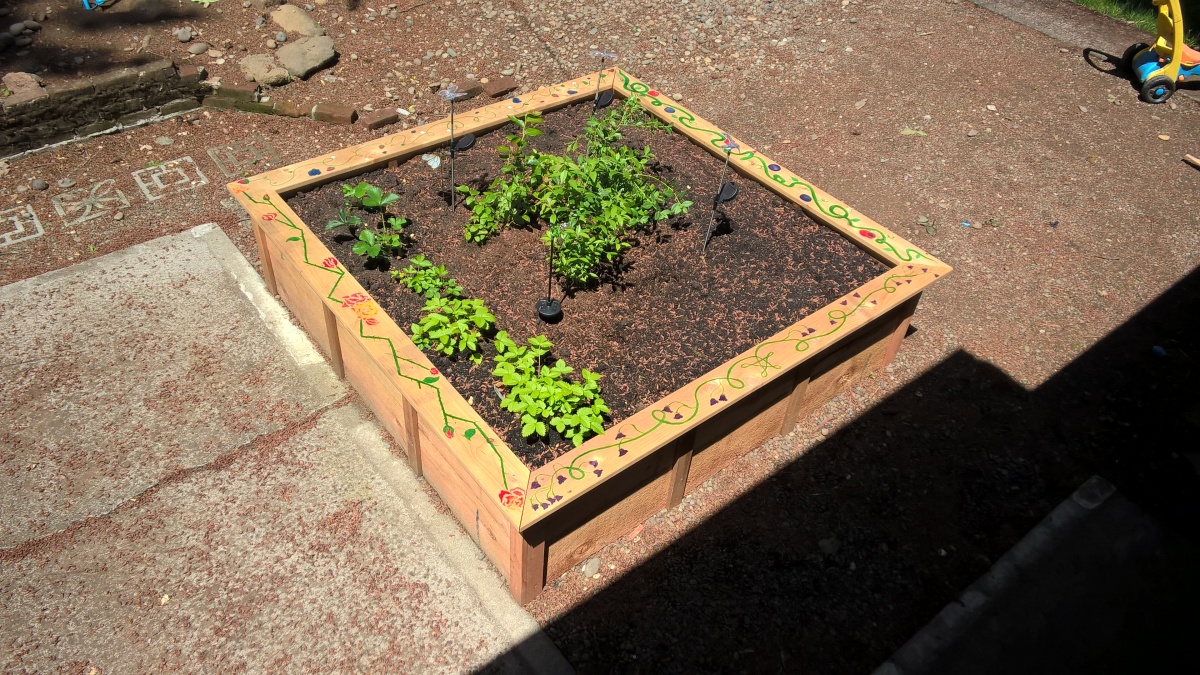
Making stuff is our motto, but the focus of our blog isn’t always that direction. Sarah has taken our motto to heart more so than me thus far, with her many artistic projects. Well, this time I made something, and it turned out awesome! I built a very nice planter box, and I thought I’d share my tips for anyone wanting to make a nice back yard fixture that will last for years to come. This is not your standard fence board box with piddly planters sitting inside it. No this is a flush to the ground 6 foot square beast, 20 inches deep, made from true cedar 2×10 boards, not those puny 1.5 x 9.5 scraps they pass off for 2×10’s.
I purchased the 2×10’s from a local lumber place, these are pretty rough wood but they are straight and have no splits. And most importantly for outdoor use, they’re thick, heavy, and cedar. These were available in numerous lengths, lucky for me 6 feet long was an option. This saved me some heavy lifting and potential waste if I needed to cut them.
I set out my square on the level pavement in my garage, and secured the boards with 2.5 inch outdoor screws. I used a counter-sink for each screw hole, and drilled a pilot hole deeper as I was screwing into the end of the boards. After the holes that I sank the screws into, there was at least an inch of each screw secured deep into the end of the next board. I secured each corner with 3 of these screws. After I had the first tier put together and knew everything fit nice and securely, I moved it into the backyard and set it out on my prepared square.


After placing the first layer on the ground, I prepared the first layer frame to place the second layer on. I knew it wouldn’t be easy to move this after both layers were connected, so the rest of the work I completed in the planter box’s final resting place. To prepare this, I attached 1×2 and 1×3 cedar boards to the outside, spaced evenly with 2 boards attached to each side.


This made the second layer exceptionally easy to attach and line up, as pictured above. When attaching the second layer 2x10s to each other, I made a point to offset the attachments to be opposite of the bottom layer. With these 2 layers firmly attached, the resistance pushing against these boards is both shearing and pulling on the screws. If these were not offset, then the wood would eventually weaken, and the screws would loosen. I’ve pictured one of the corners below, to better illustrate how these were connected.


After attaching the second layer of 2x10s to the framing 1×2 & 1x3s, I added another layer of those supporting boards to the inside of the box. This further secured the 2 layers to each other, adding strength to the entire construction.


Once the 2 layers were solidly connected, I started to fill the box. Lucky for me I have piles of rocky dirt on the other side of my property that I’ve been dying to get rid of. Using my trusty wheel-barrow I filled the box roughly halfway with this rocky fill. Having the gravely layer in the box will help to provide good drainage. I placed larger rocks against the sides from the inside, as the box isn’t actually staked or attached to the ground I wanted to give it a bit of an anchor while filling it. I concentrated the rocks that I used to fill the box against the outside walls, to try to discourage roots from heading towards the wood.
After filling to the desired level with gravel, then soil, I cut and attached deck boards to make a nice bench around the outside edge. To do this, I set my trusty buzz saw to 45 degrees, and measured 3 times. When I was complete, the boards fit just right, and made for an attractive and secure top edge. This also has the added benefit of protecting the less treated wood underneath from water soaking directly through the board edge.

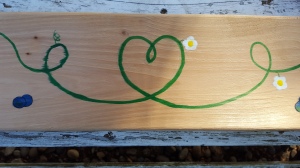
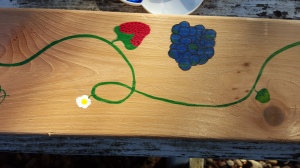
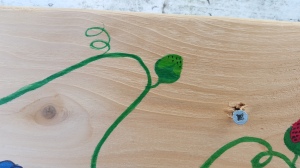
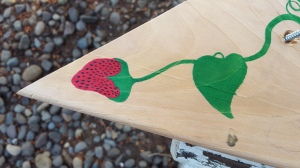
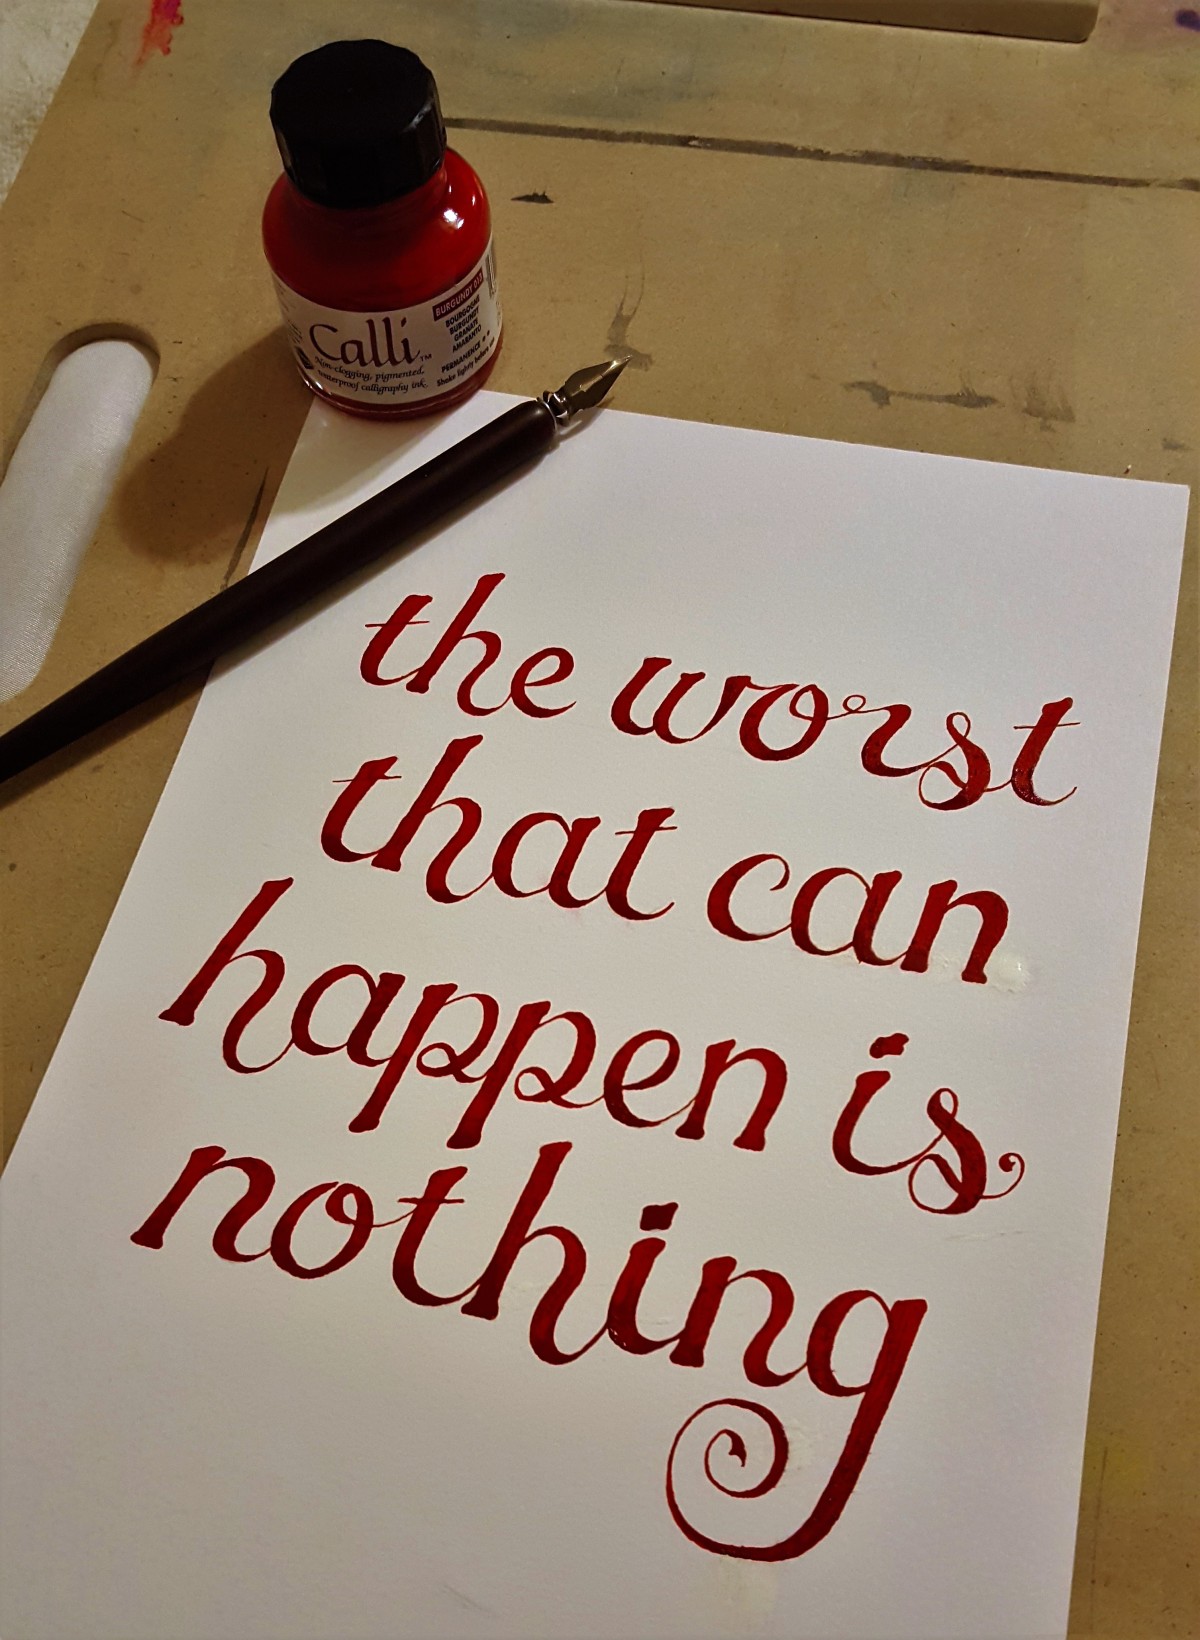
Sarah did the finishing touches with some waterproof/lightproof ink to decorate the benches with assorted flowers and fruits, set on a variety of beautiful vines.
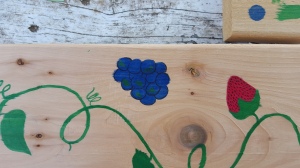

We’ve already transplanted blueberries and strawberries, however our back yard friends have made it difficult to keep seeds in the ground. Squirrels are cute, and fun to feed, but they are not friendly to dirt, seeds, and young tasty plants.


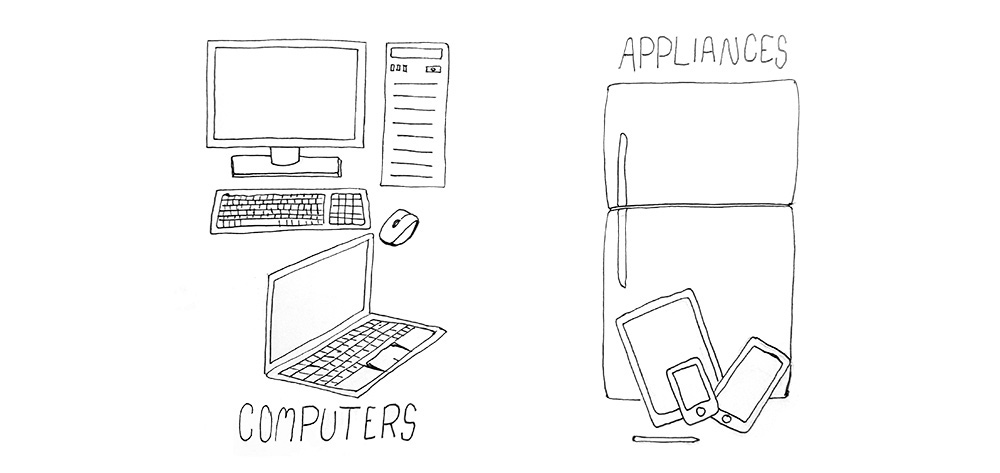


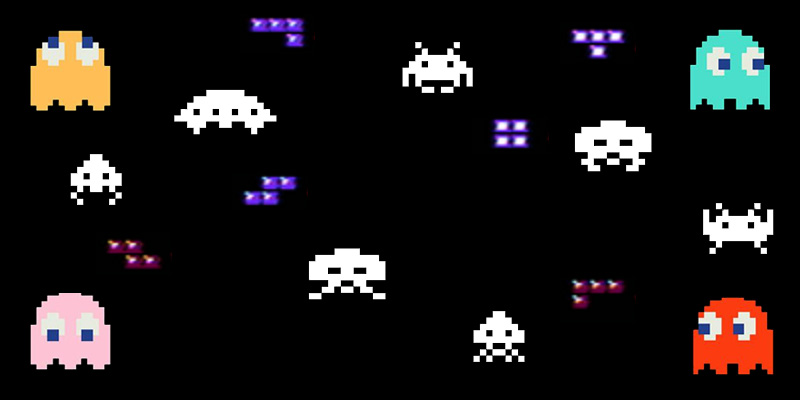
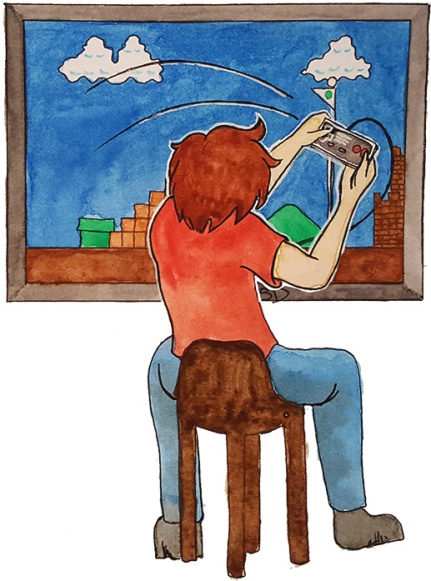
 Not so long ago phones were not so smart, and tablets were from star trek. Then a social technological revolution happened. You’d have a hard time finding a phone today that was not a smart phone, bundled with one flavor or another of a walled app selection. With each of the platforms advertising heavily the number of apps available, as we all know the apps make the phone.
 I scroll these markets far more often than I actually download or purchase anything. Not so long back, the “New” section of the store would actually seem to change. Sure the titles change now, but to me it just seems like the same things over and over again, with very little originality floating to the surface. I want to find something, some treasure that I might have overlooked, but I’ve done the download-and-try dance so many times now, it just doesn’t seem to be worth the effort.


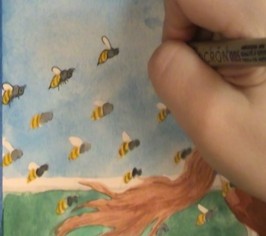
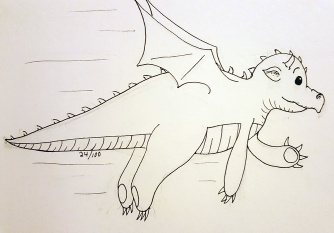
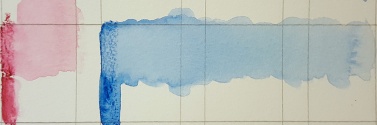
 They pretty much lay down like regular crayons, especially on textured paper.
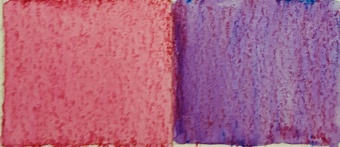 If you lay down the color lightly, it’s easier to mix the pigment with the water, meaning you don’t see the crayon marks. Having spots where the crayon marks show up more in some places than others is a fun way to get texture into a drawing. If you don’t want the texture and you want bright color, you probably want to do something other than put the crayon straight to the paper.
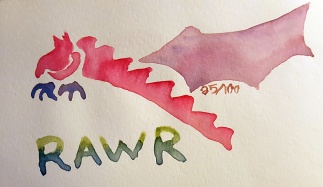
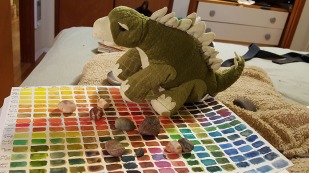
 Here I put down some red on half of the block on the left side, and then went over it with water. Only a couple of layers makes a much bolder color. On the other side I put a layer of cobalt blue on top of a dried glaze of the red. I went over half with water. Even layered the colors blend really well.

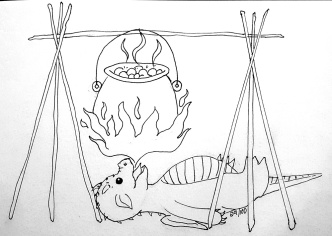
 l start to muck up your paper. Not that I would know anything about that. Ever.
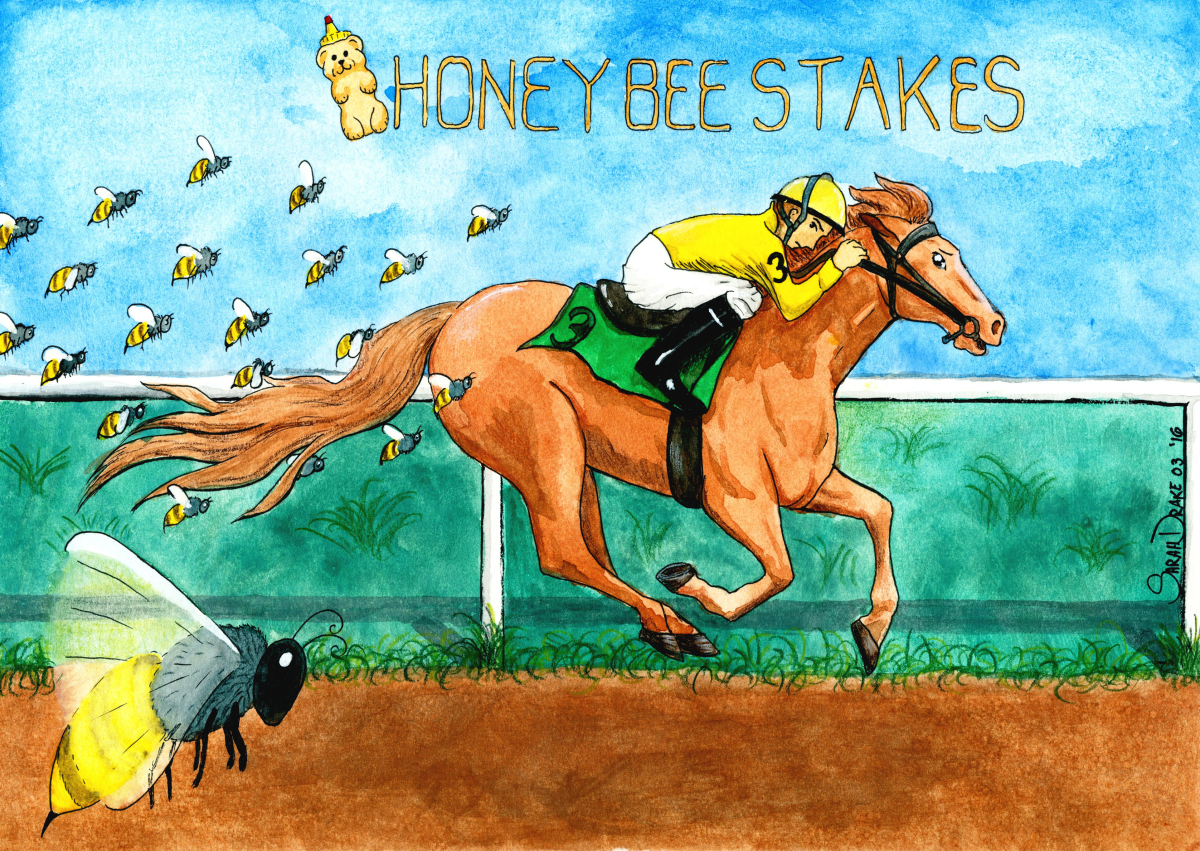
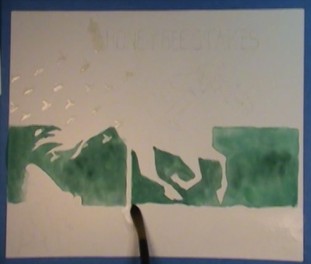
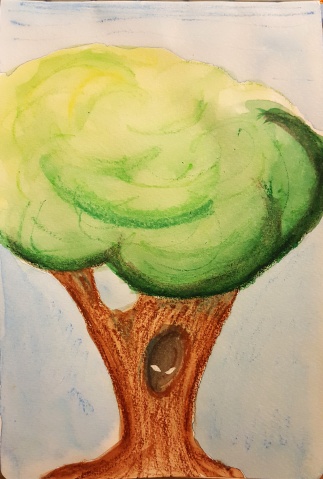
 Dabbing at the wet blue paint with a paper towel makes for nice little impressions of clouds.